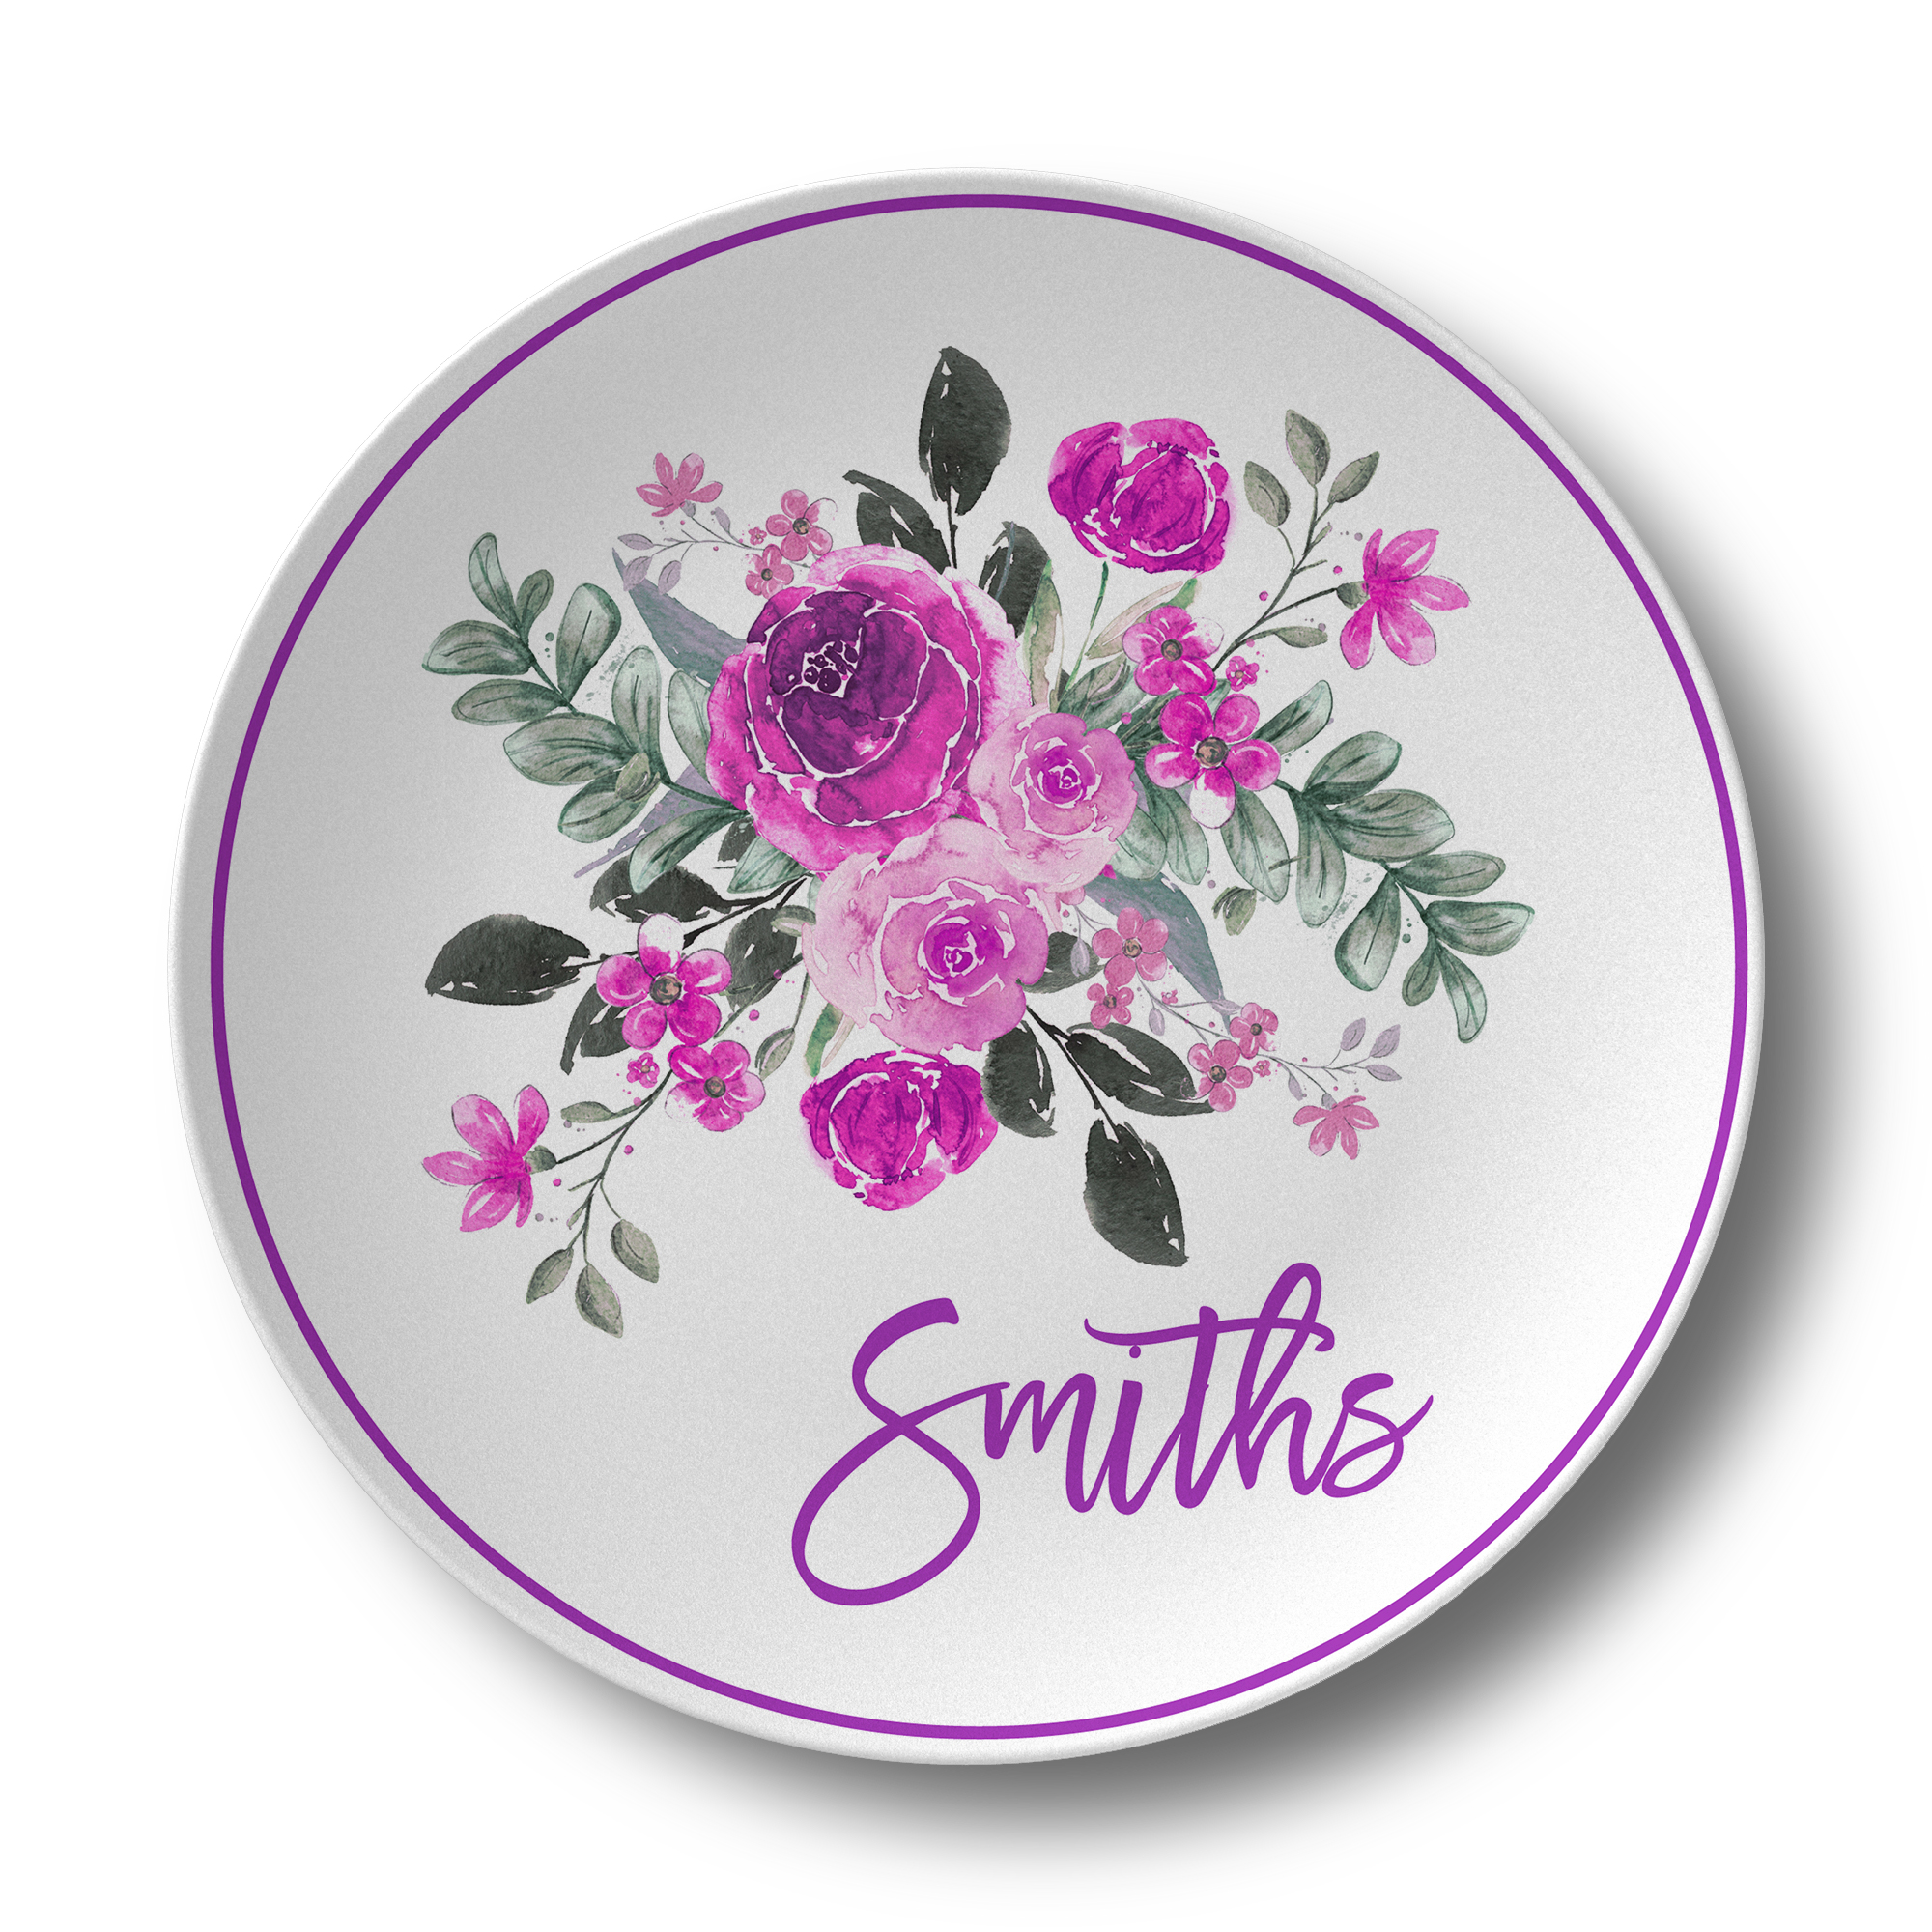
Review the artwork guidelines below before you upload sample artwork. This page will help you understand the design templates and best practices when designing for DecoPlate products.
You will upload sample artwork in the next step. Please read through the full artwork guidelines below so your design is set up for sample artwork approval.
1
Instructions
2
Upload Artwork
3
Business info
Learn how to prepare production-ready artwork
Download our official templates for Photoshop, Illustrator, Canva and Corel.
Click on the elements below to understand what each part of the template does before you build your artwork.
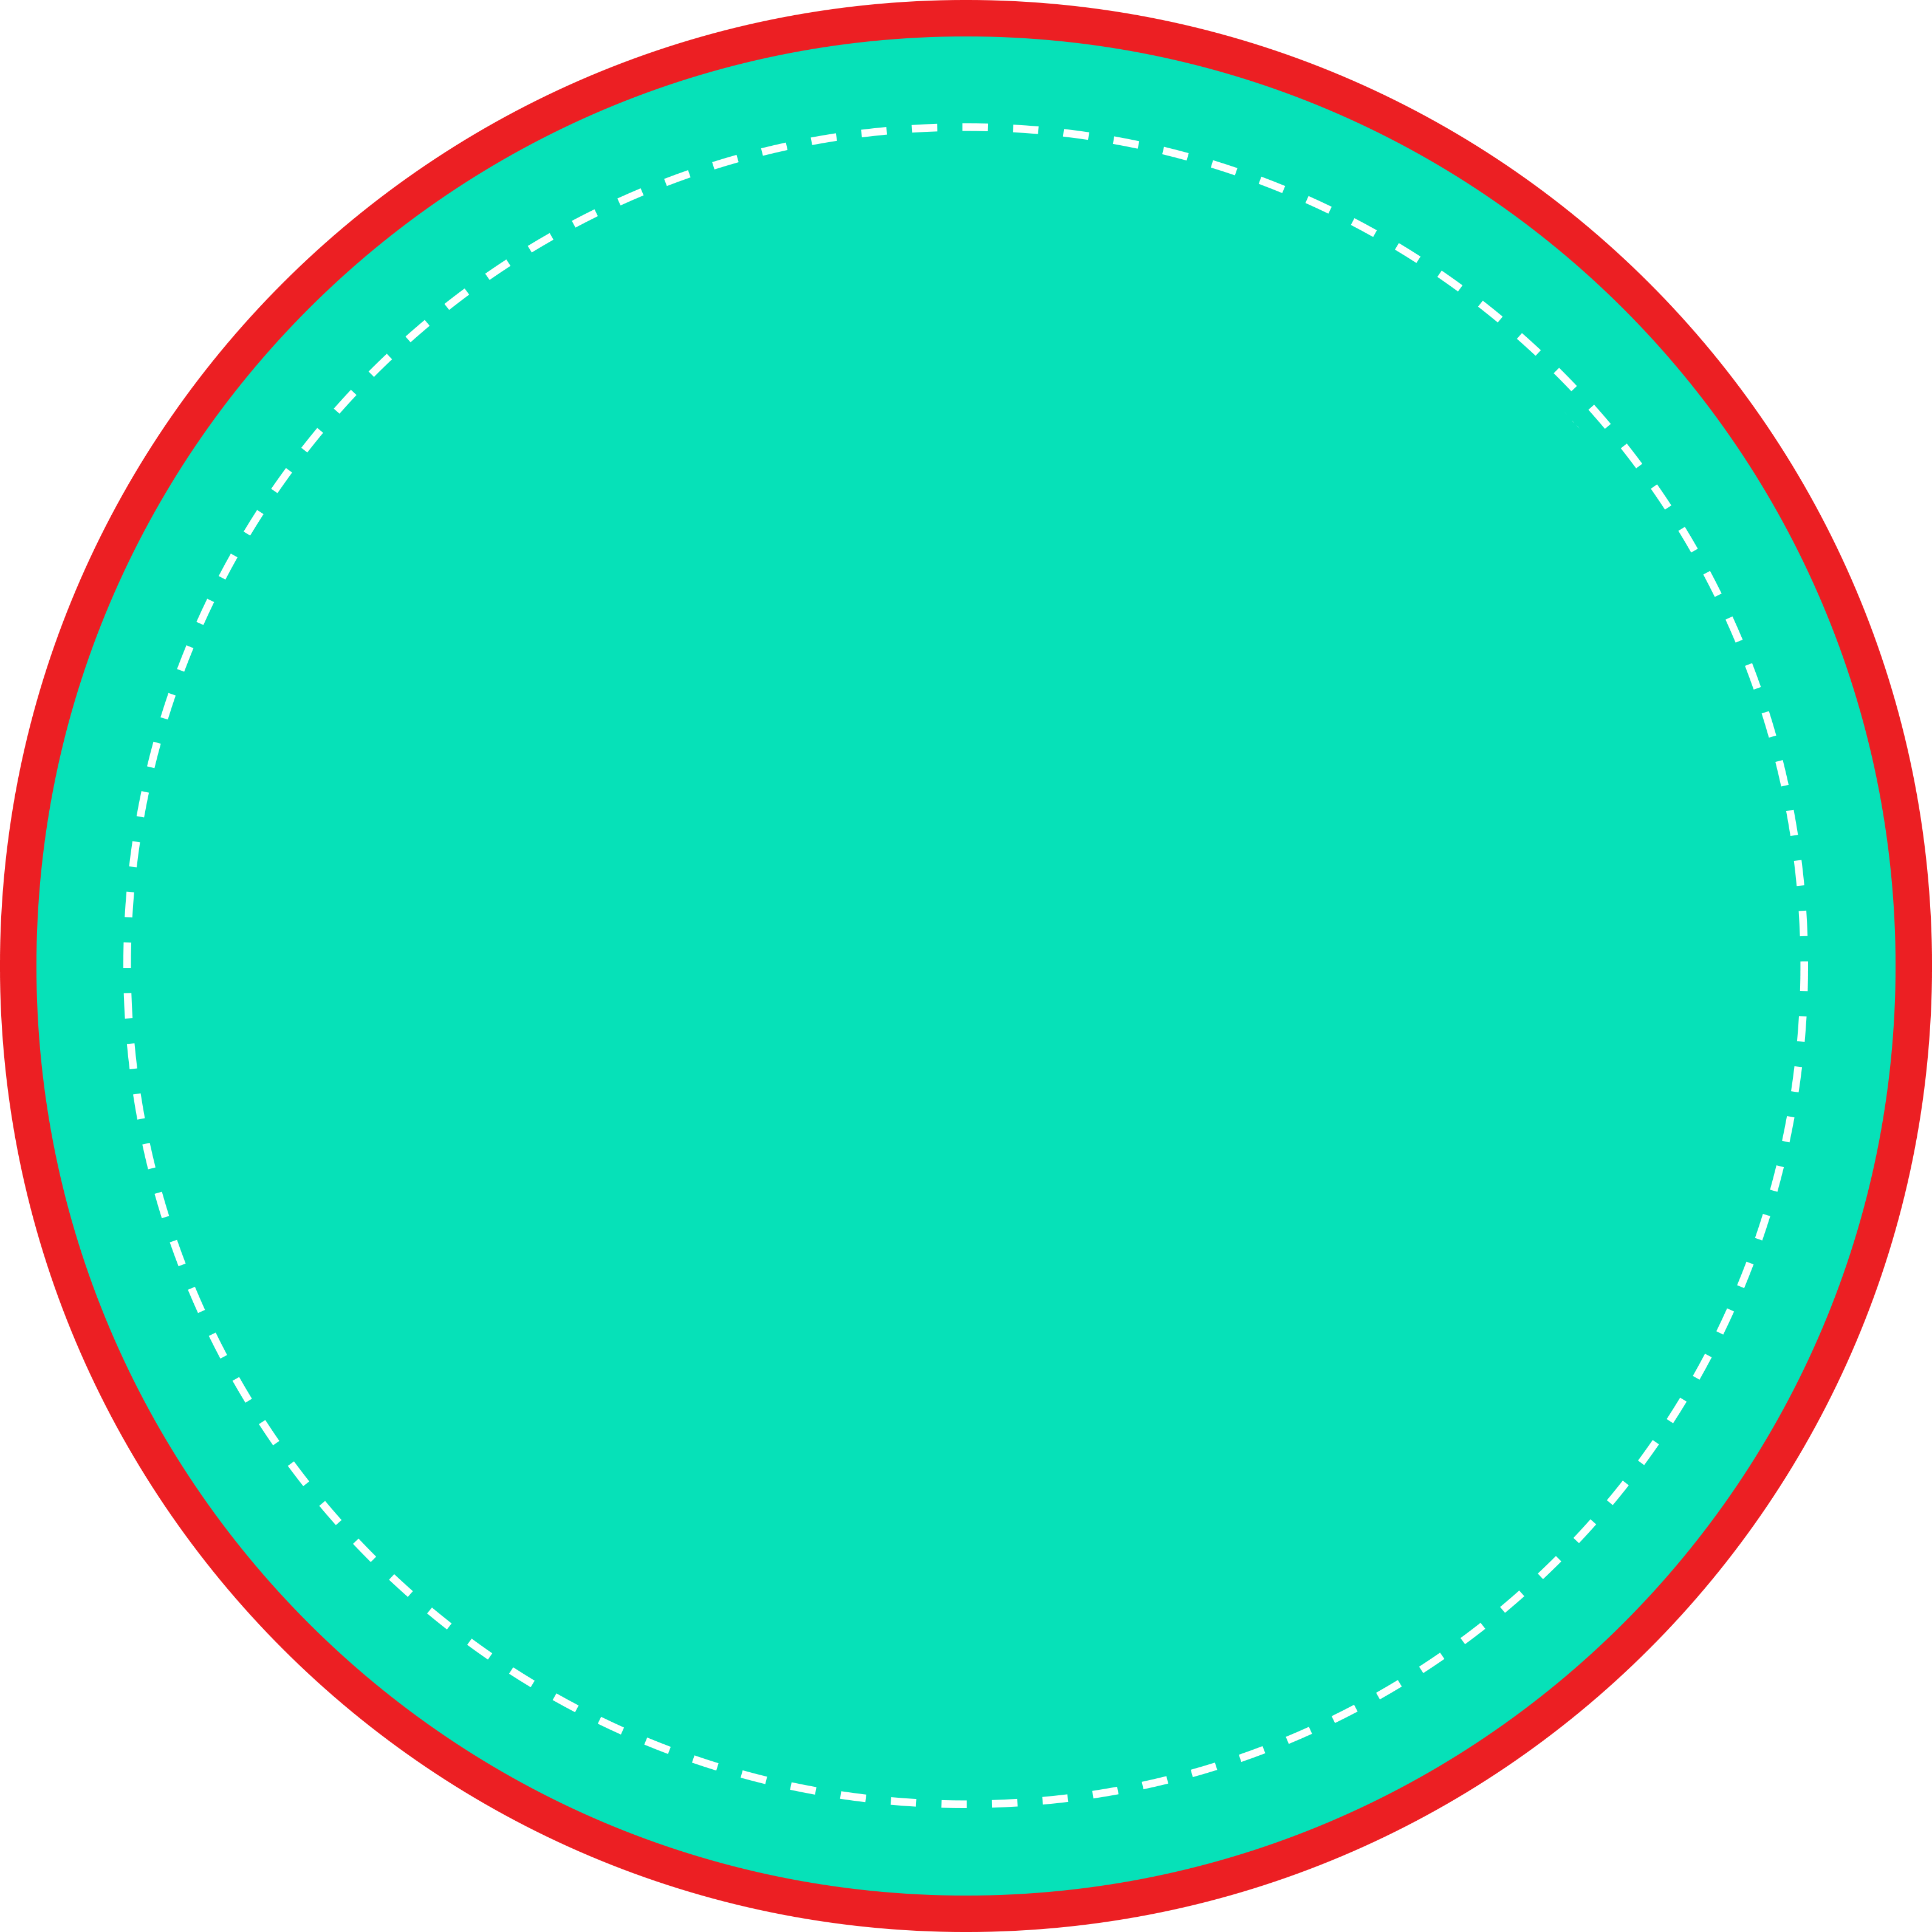
Safe zone
Keep important artwork inside the green safe zone
The green safe zone is the visible printed surface. Place logos, names, copy, and other critical design details here so they stay fully visible on the finished product.
Use for text, logos, monograms, and focal artwork.
Due to slight placement variance during production, elements placed too close to the edge of the safe zone may be cut off.
Keep key elements inside the dashed border line when possible for the safest result.
Bleed zone
Use the red ring as the 1/4-inch bleed area
The outer red ring is the bleed zone. It wraps over the edge of the finished product and will be trimmed or partially lost during production. It is meant for continuation, not critical artwork.
Let solid backgrounds, patterns, and textures run all the way out to the edge of the artboard.
Do not place text or important graphics in this area; they will be cut off during production.
Border placement line
Use the dashed line 1/2 inch away from the edge of the green zone
The dashed white circle is the border placement guide. It sits 1/2 inch inside of the edge of the green zone. It helps borders stay centered and consistent on the finished piece.
Full bleed borders should begin at the dotted line and extend outward through the bleed zone. See example below.
Floating borders should sit on or inside this guide, not near the red bleed. See example below.
Do not edit the templates
Never change the template's overall dimensions or resolution. Production artwork must maintain template specifications.
Save your file
Save production artwork at specified template dimensions as .JPG at 300 DPI in RGB color space, with a file size limit of 15MB.
Color and print expectations
Screen color vs. final product
Our process is designed for consistent color reproduction, but your finished piece may not exactly match what you see on screen. A physical sample is the best color reference.
Solid backgrounds
Textures work best because solid backgrounds can highlight variations in the surface finish and minor flaws that are inherent to our hand-made products.
Spot color matching
Exact spot-color matching is available, but not every color can be matched perfectly with our 4-color process. Color matching is $60 per hour or $60 per Pantone color.
Border design examples
Learn where artwork placement will locate on a final decorated product
These examples show production ready artwork overlaid on a plate template to illustrate border element placement.
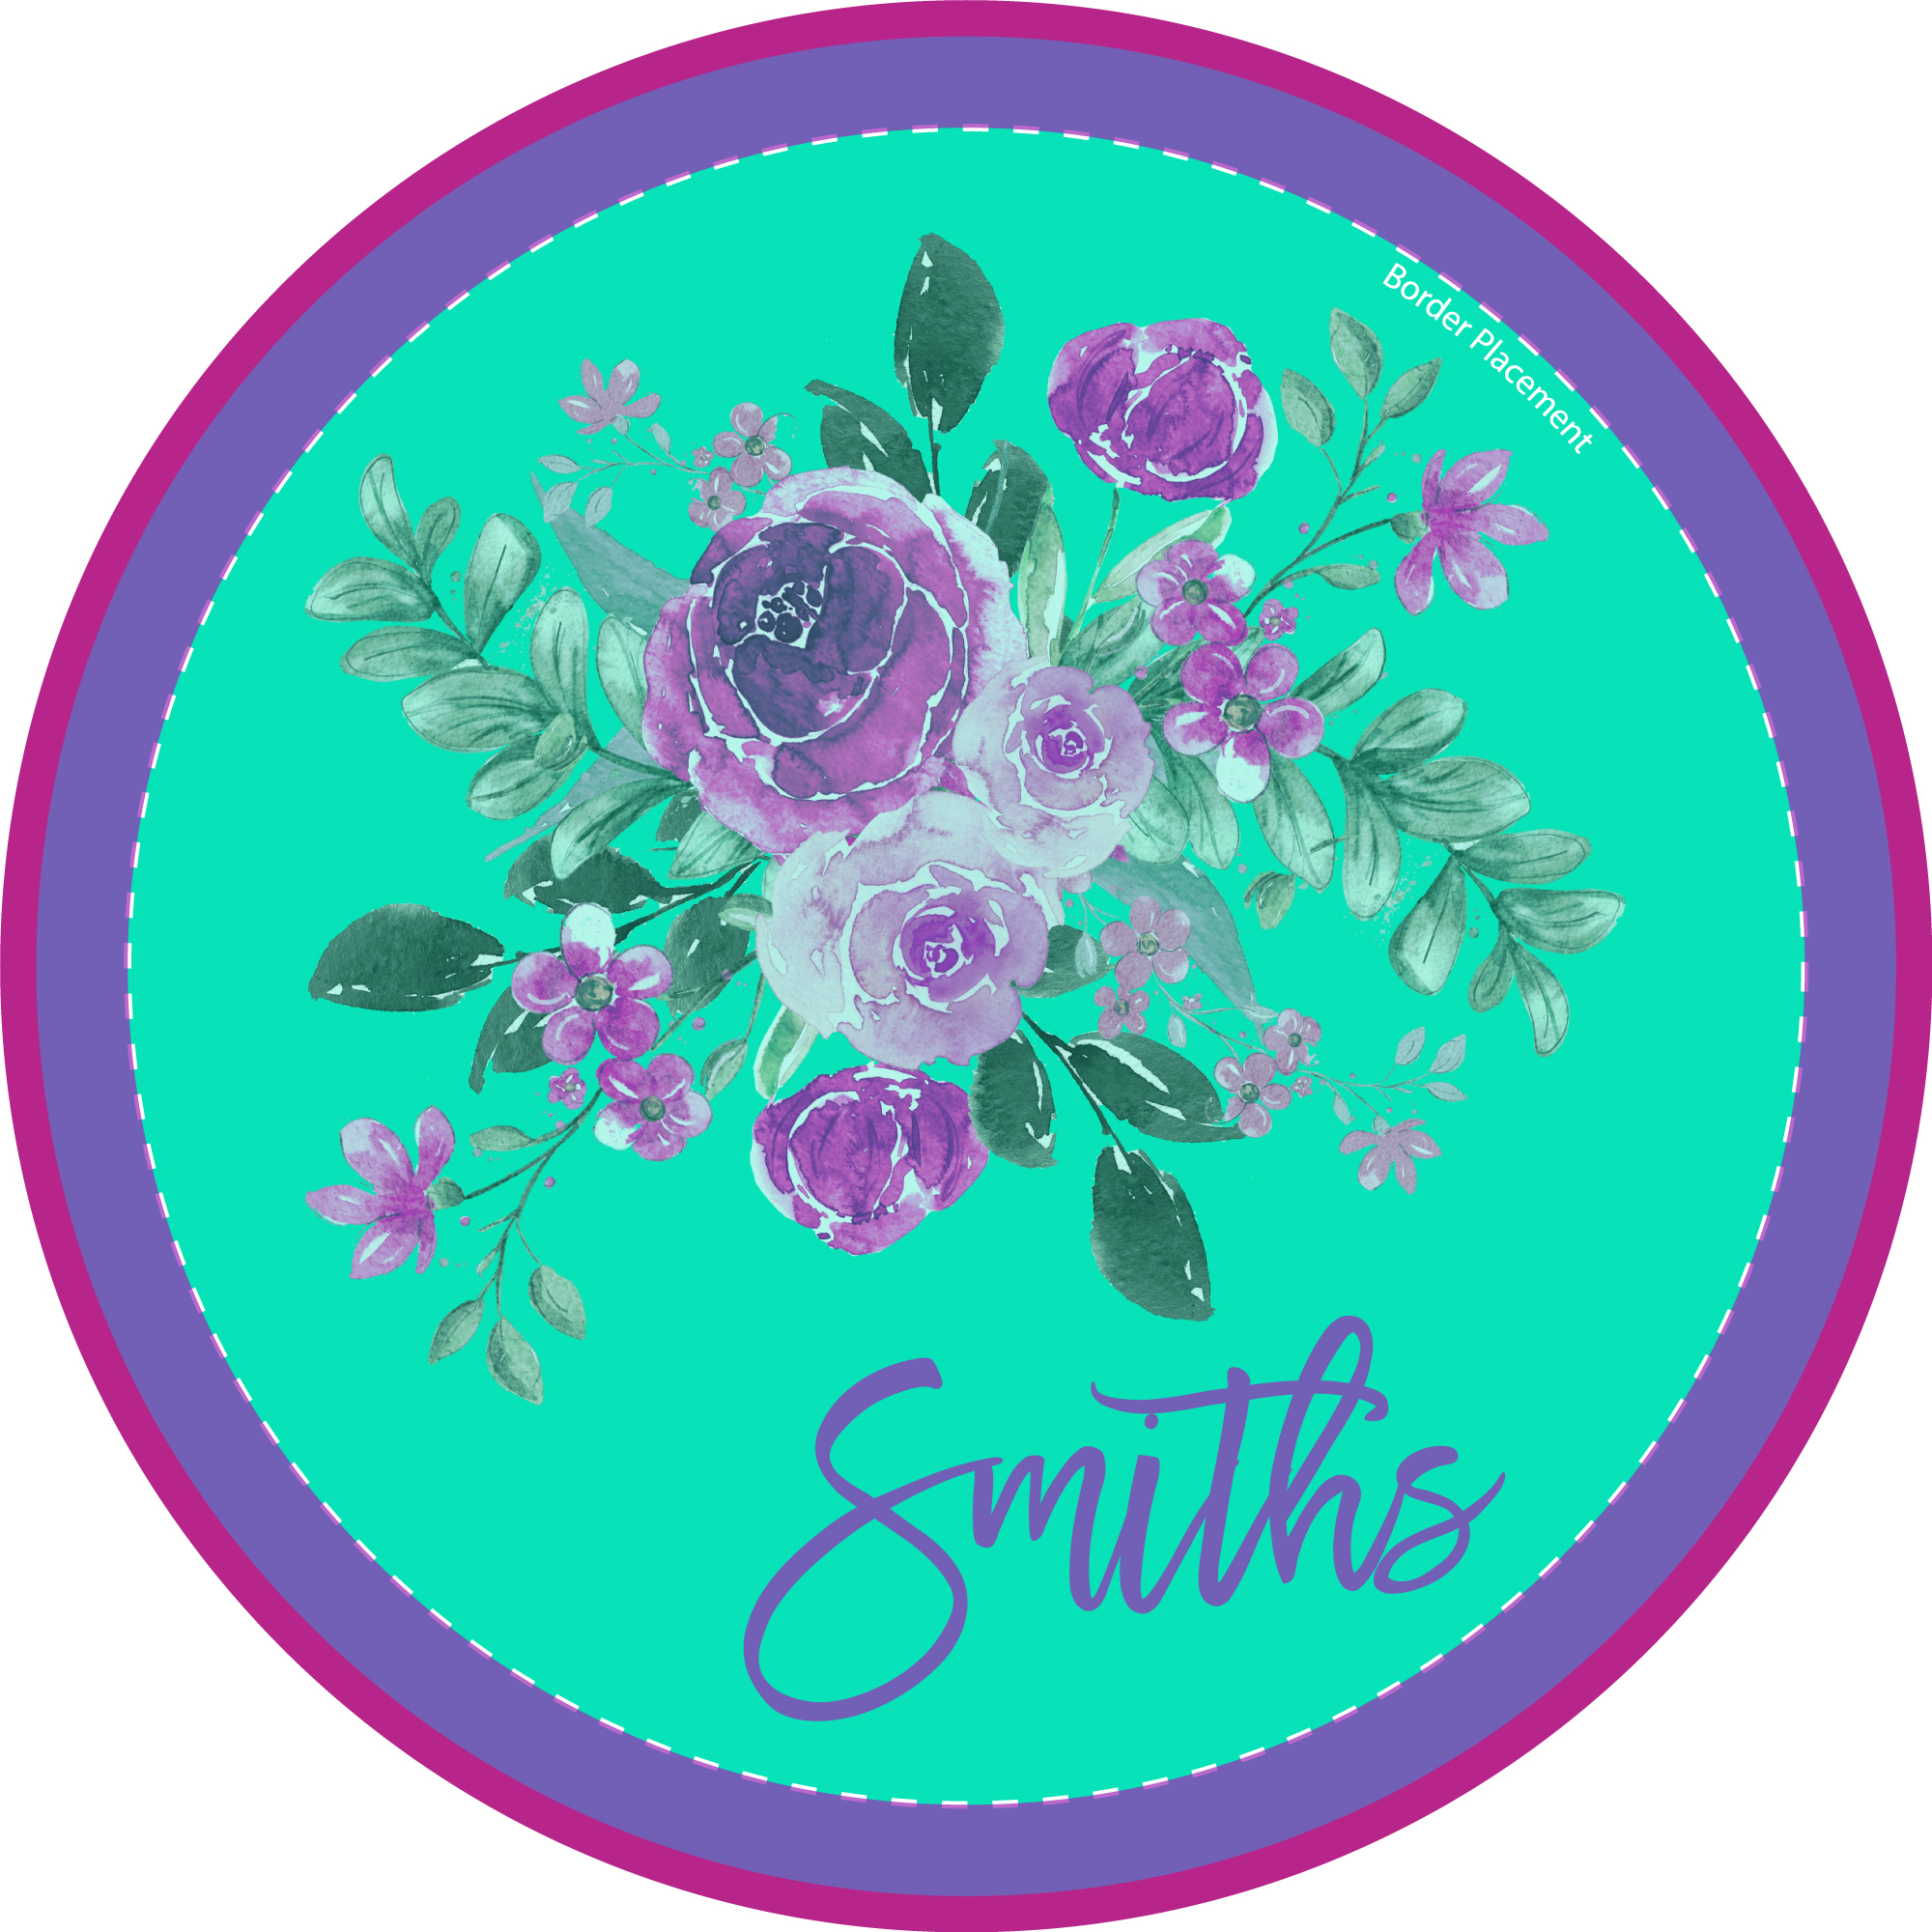
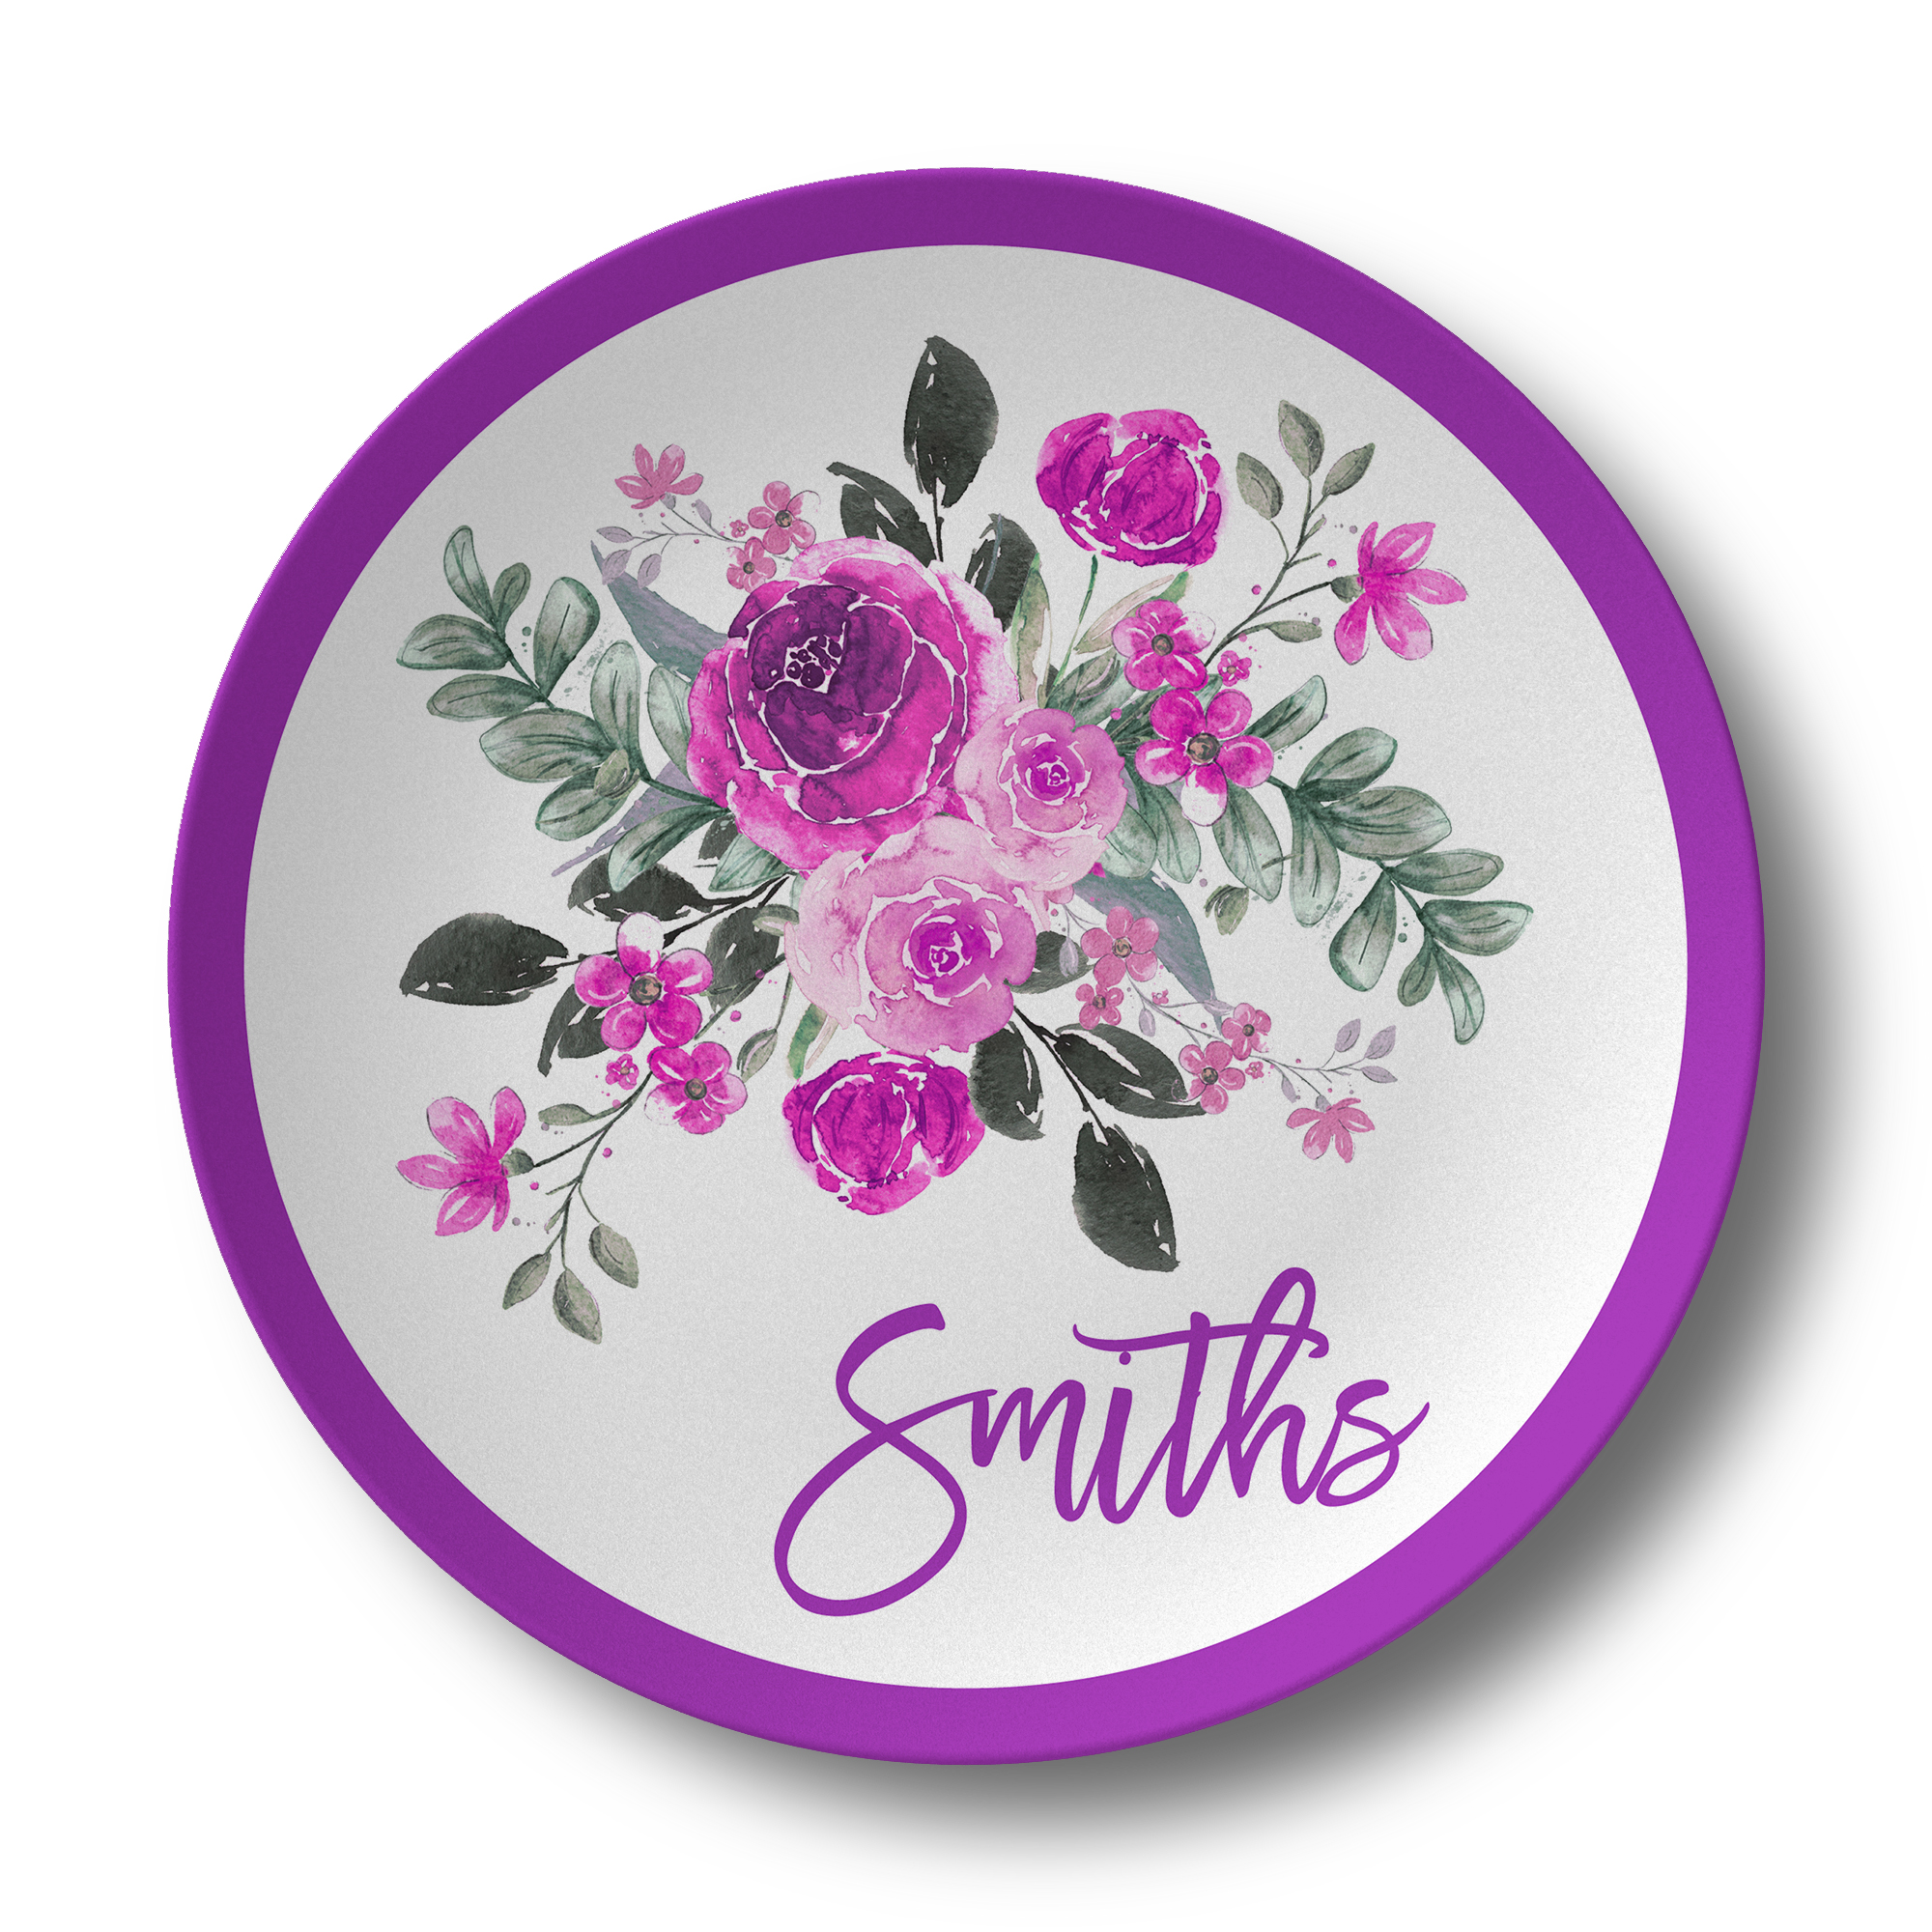
Full Bleed Border - Best Practice
Approved
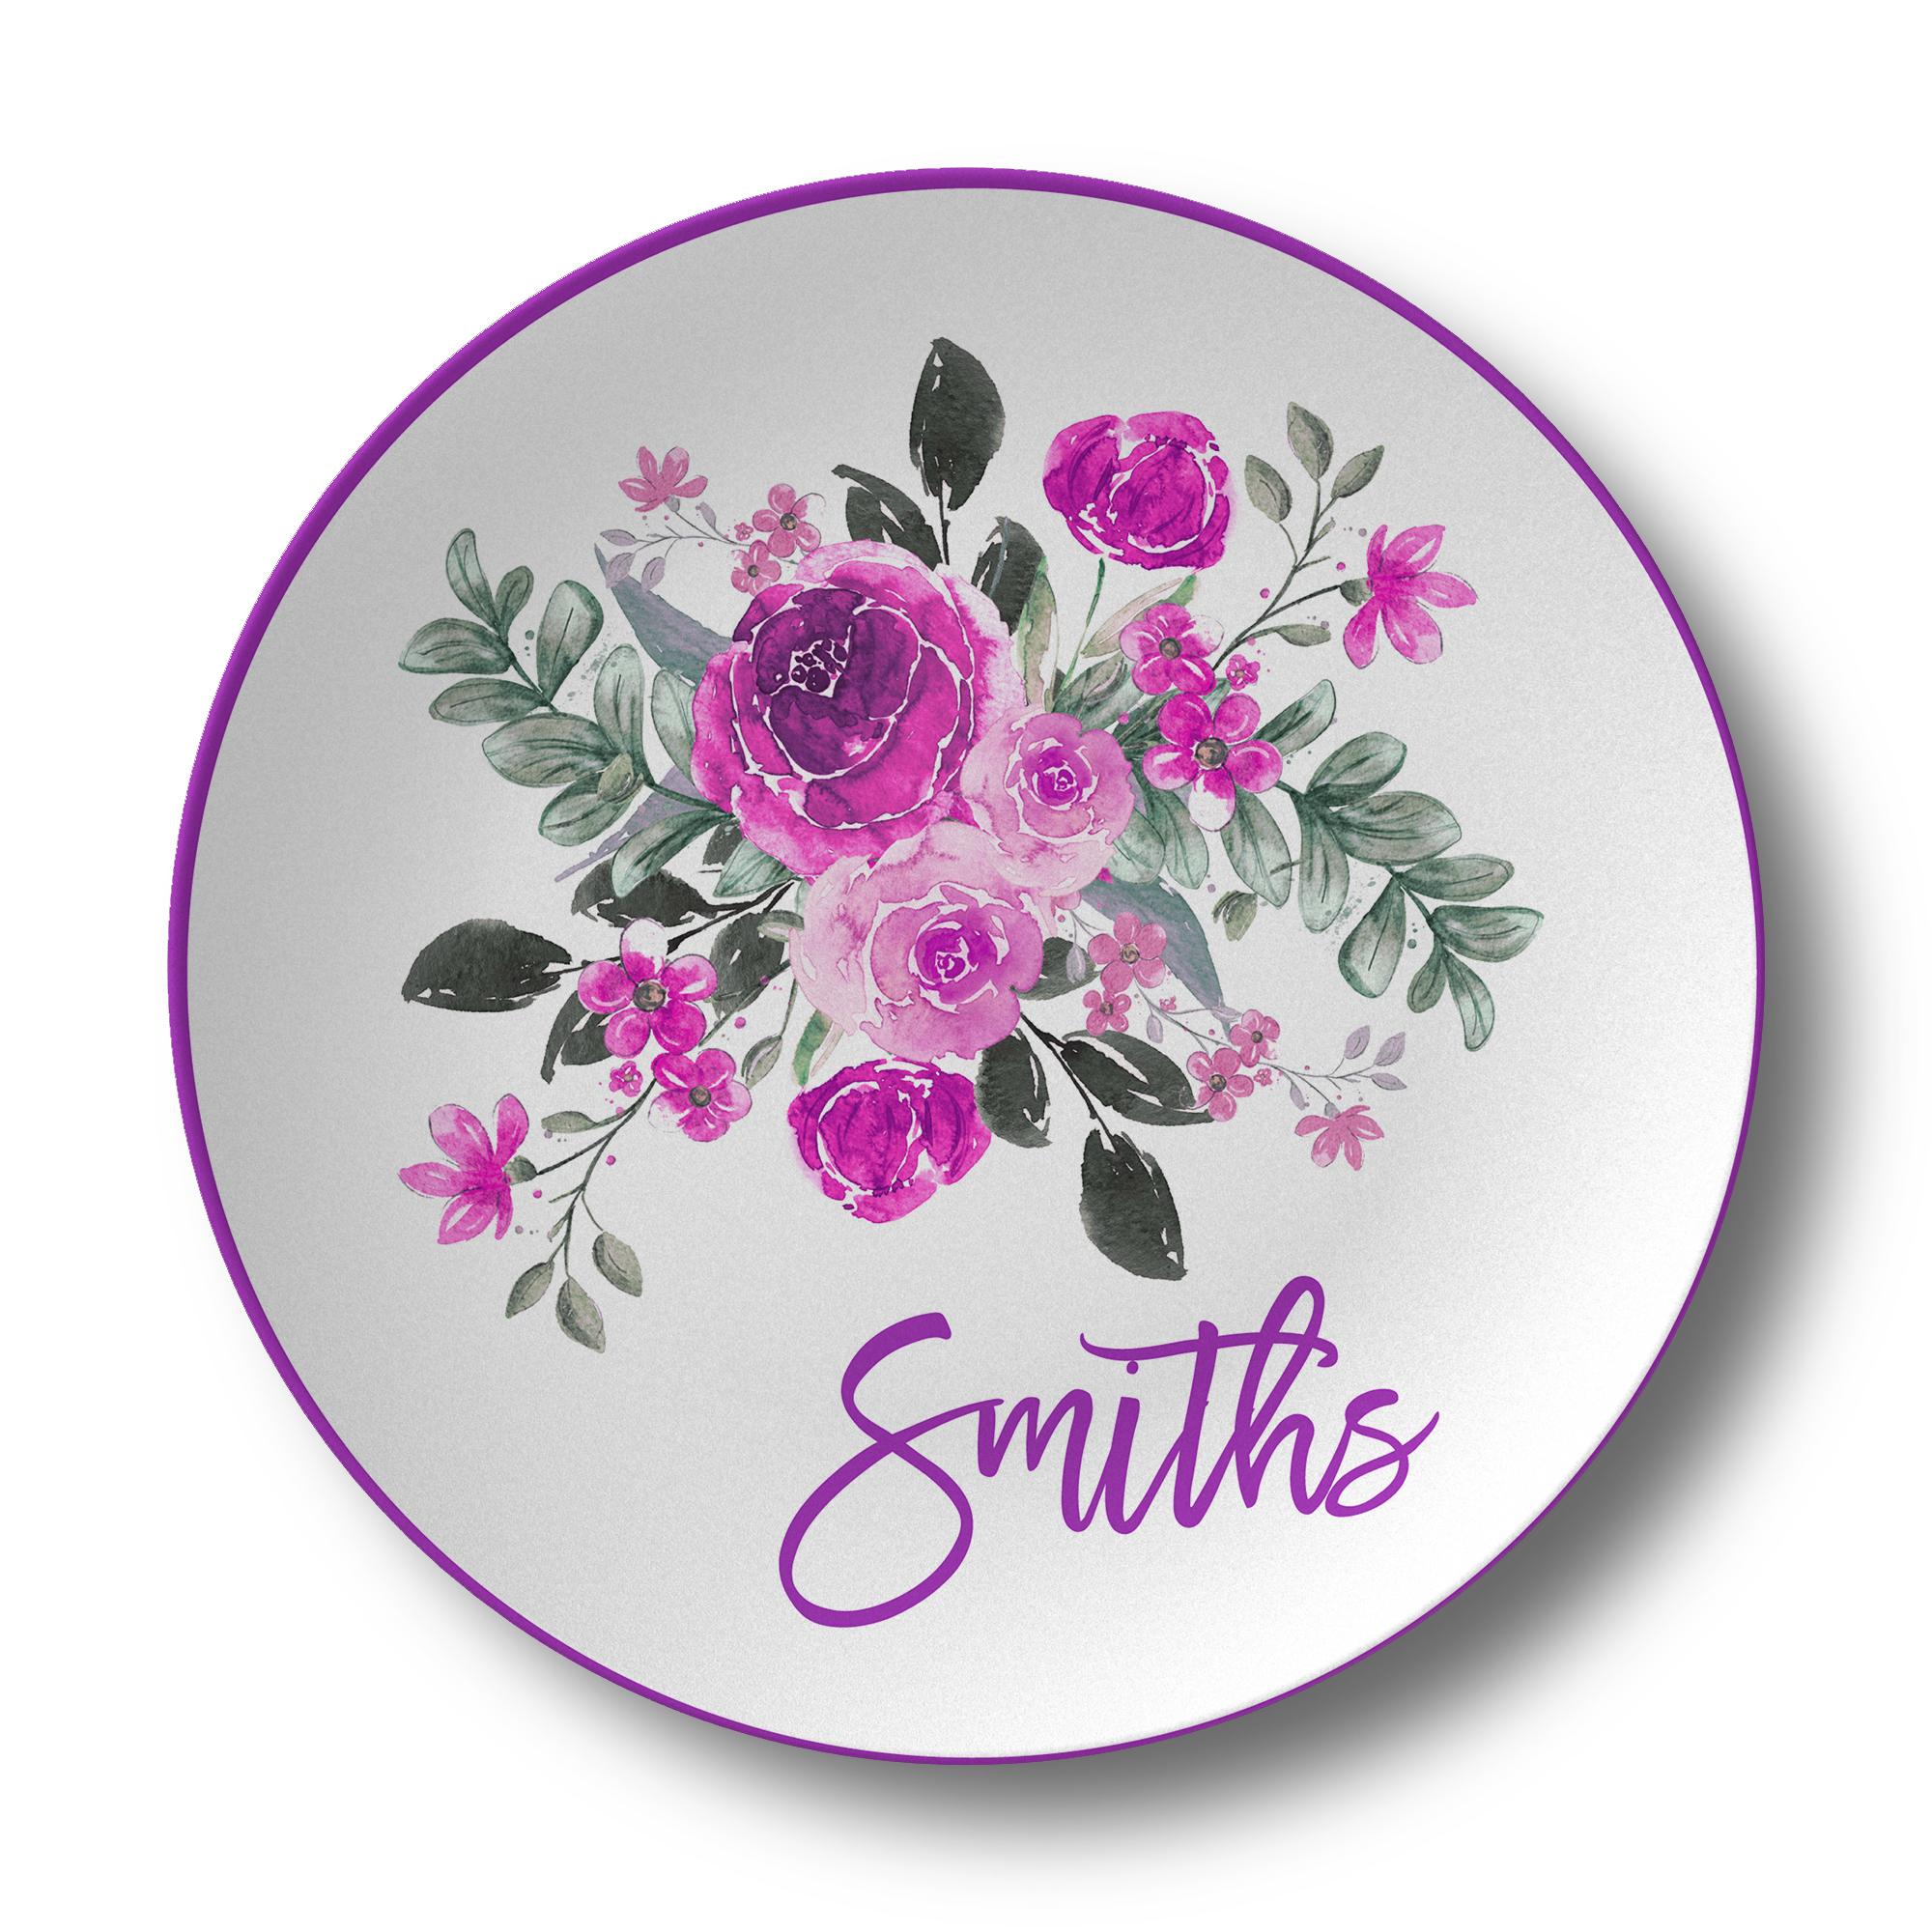
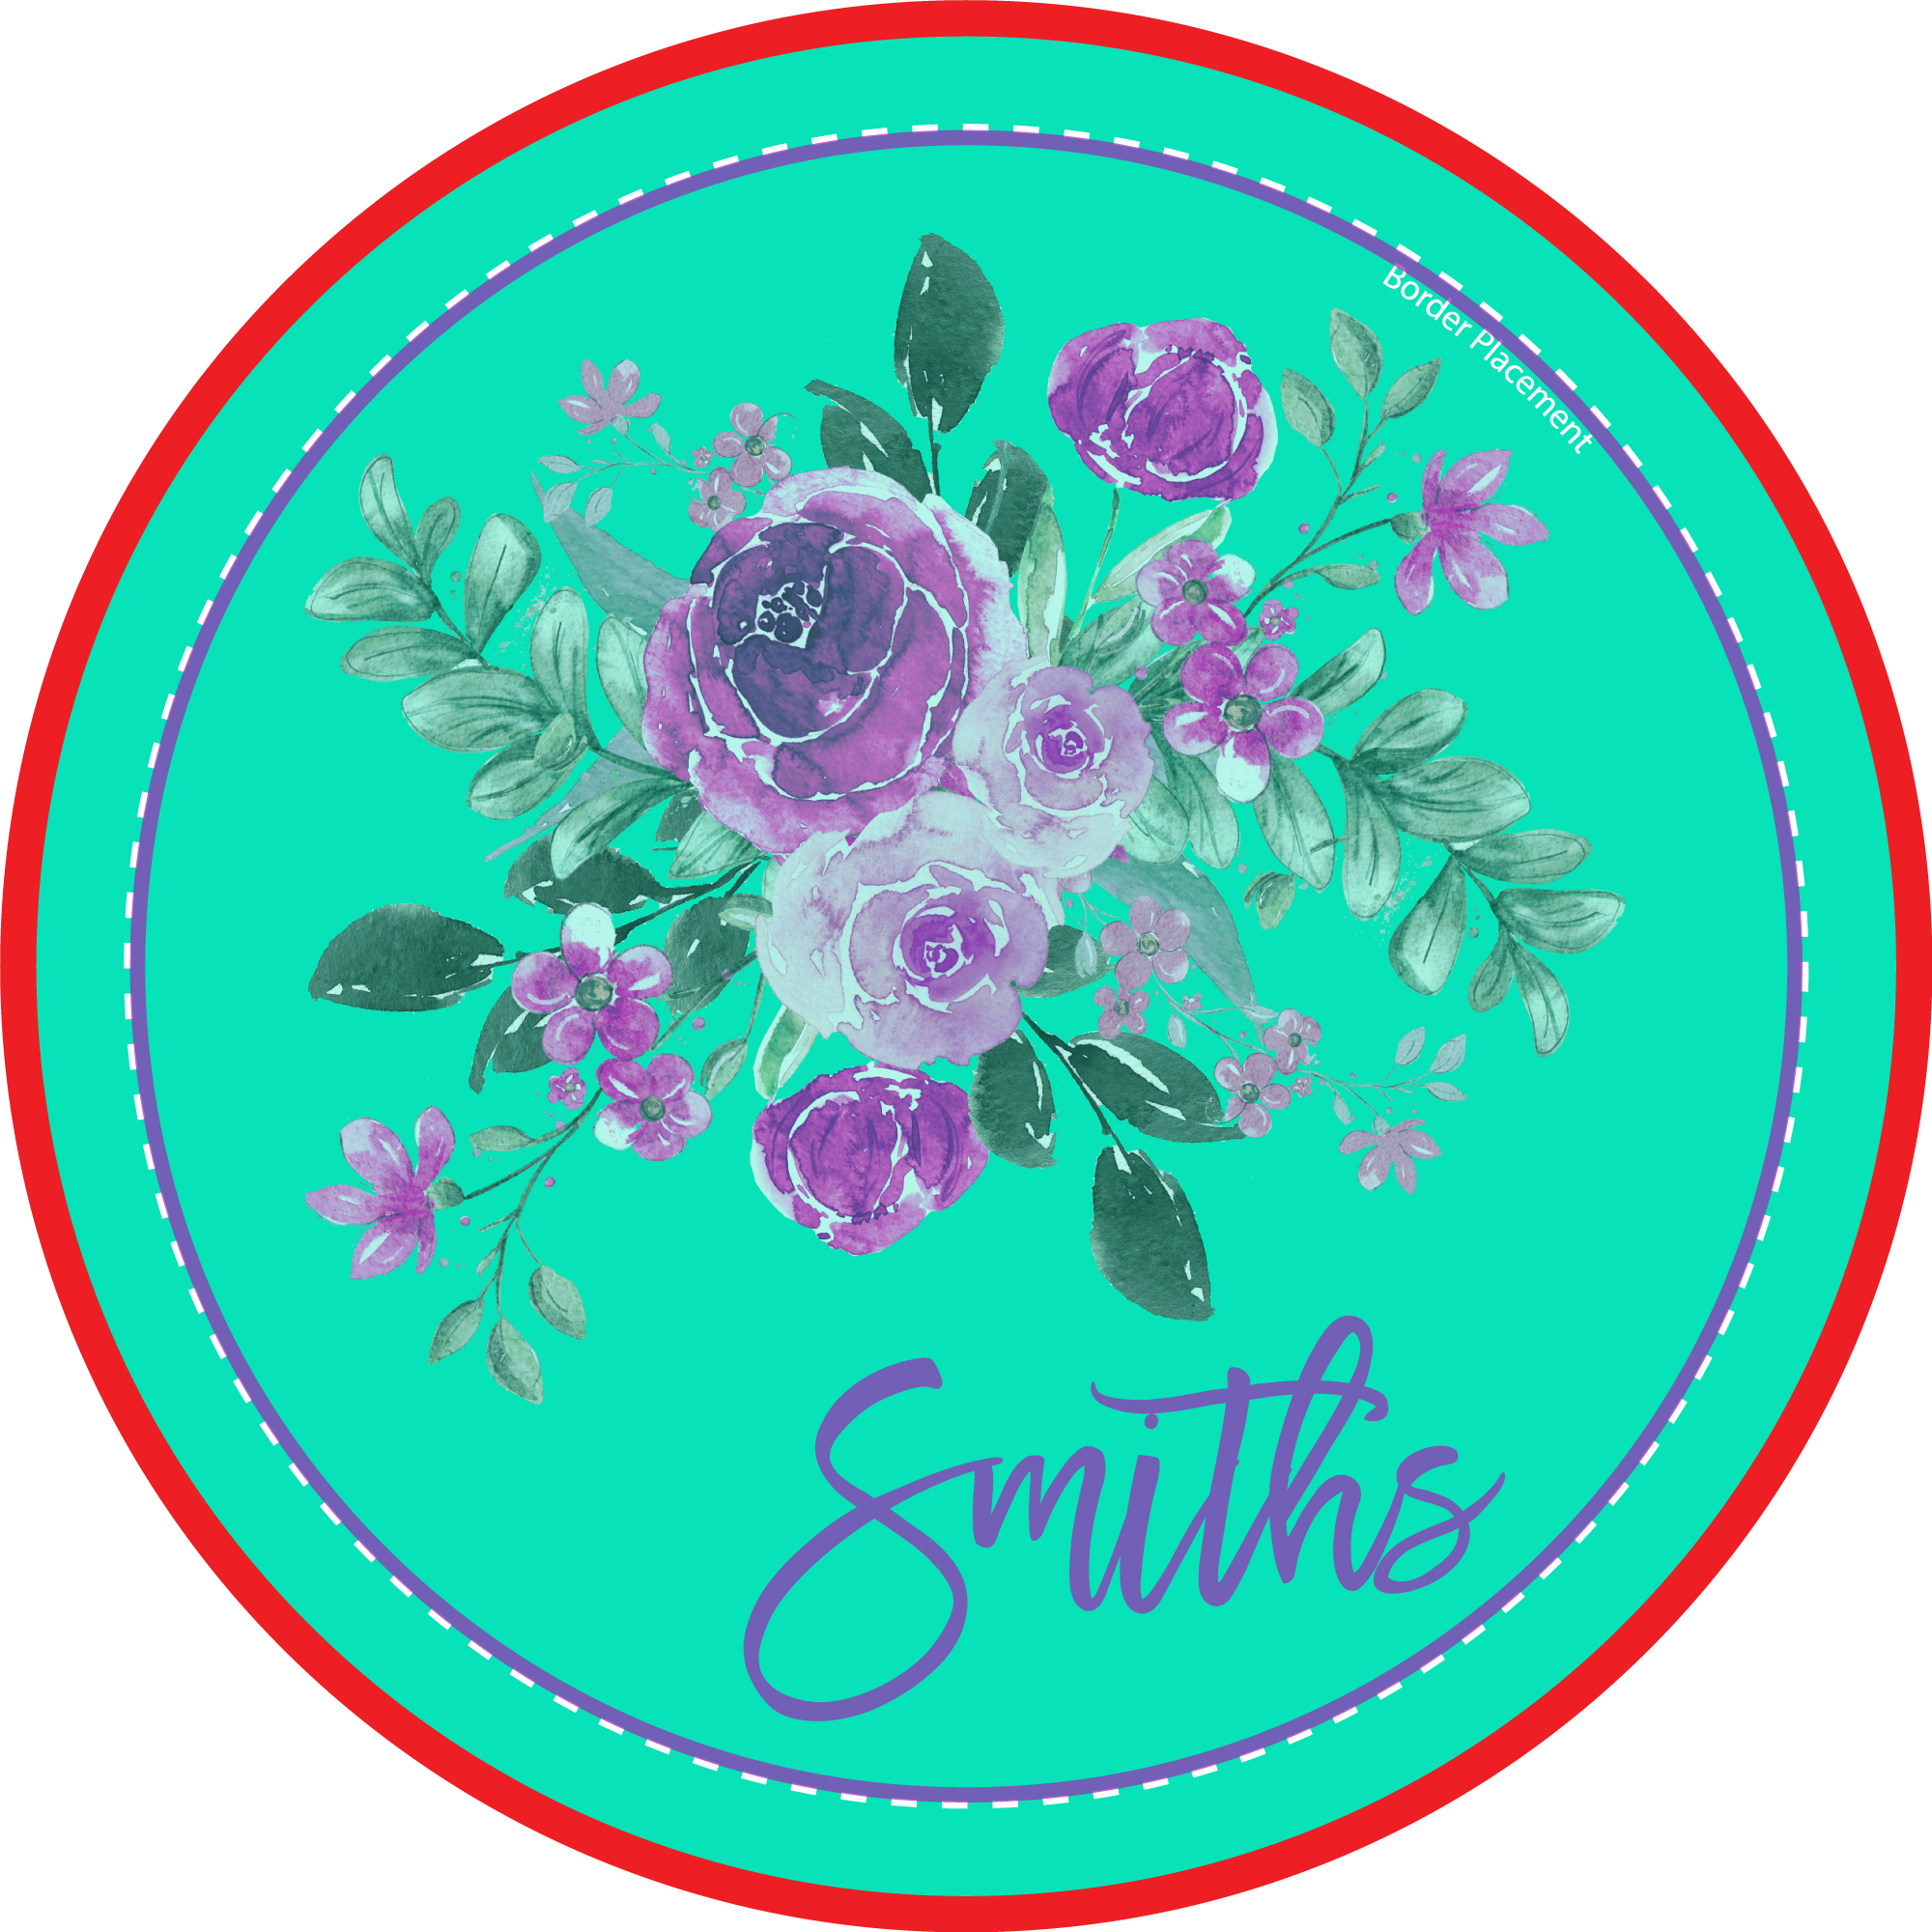
Full bleed borders must start at the dotted "Border Placement" line and extend to the edge of the template. This will create a 1/2" border on the product to allow for minor placement variance during production and ensure it stays visually centered.
Transparent Artwork Overlaid on Template
Decorated example
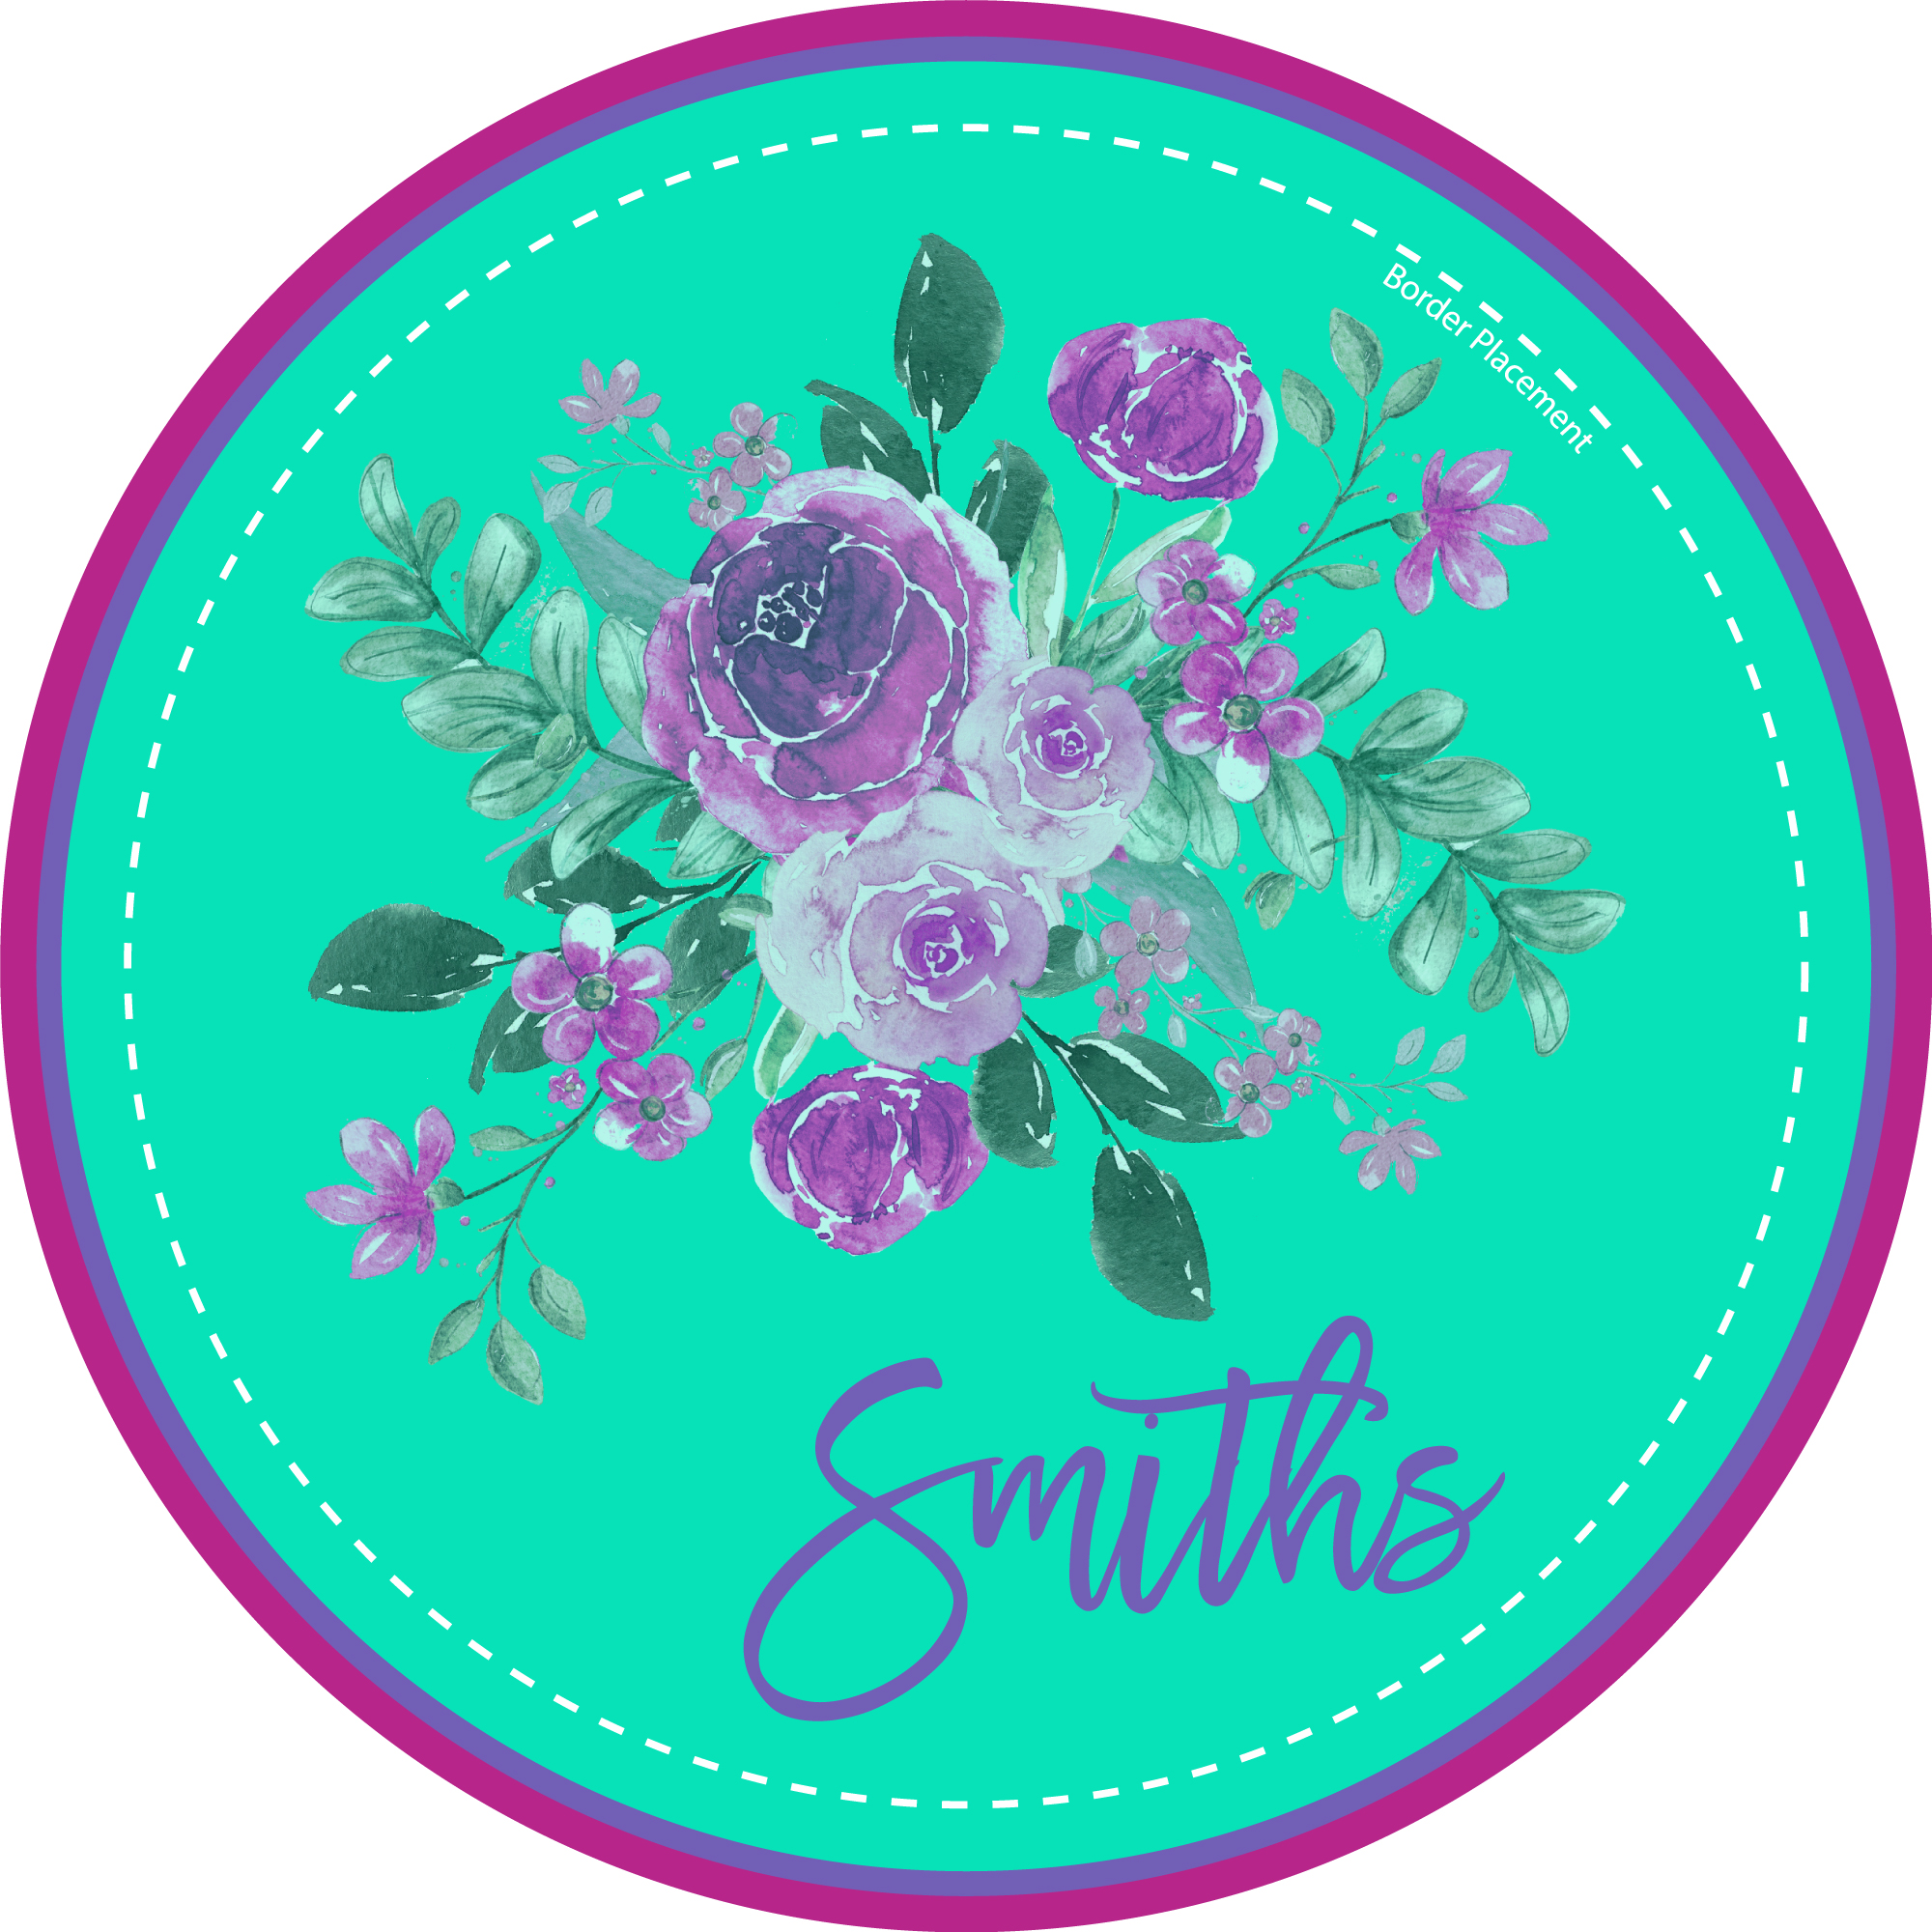
Full Bleed Border - Too Thin
Not approved: Too thin
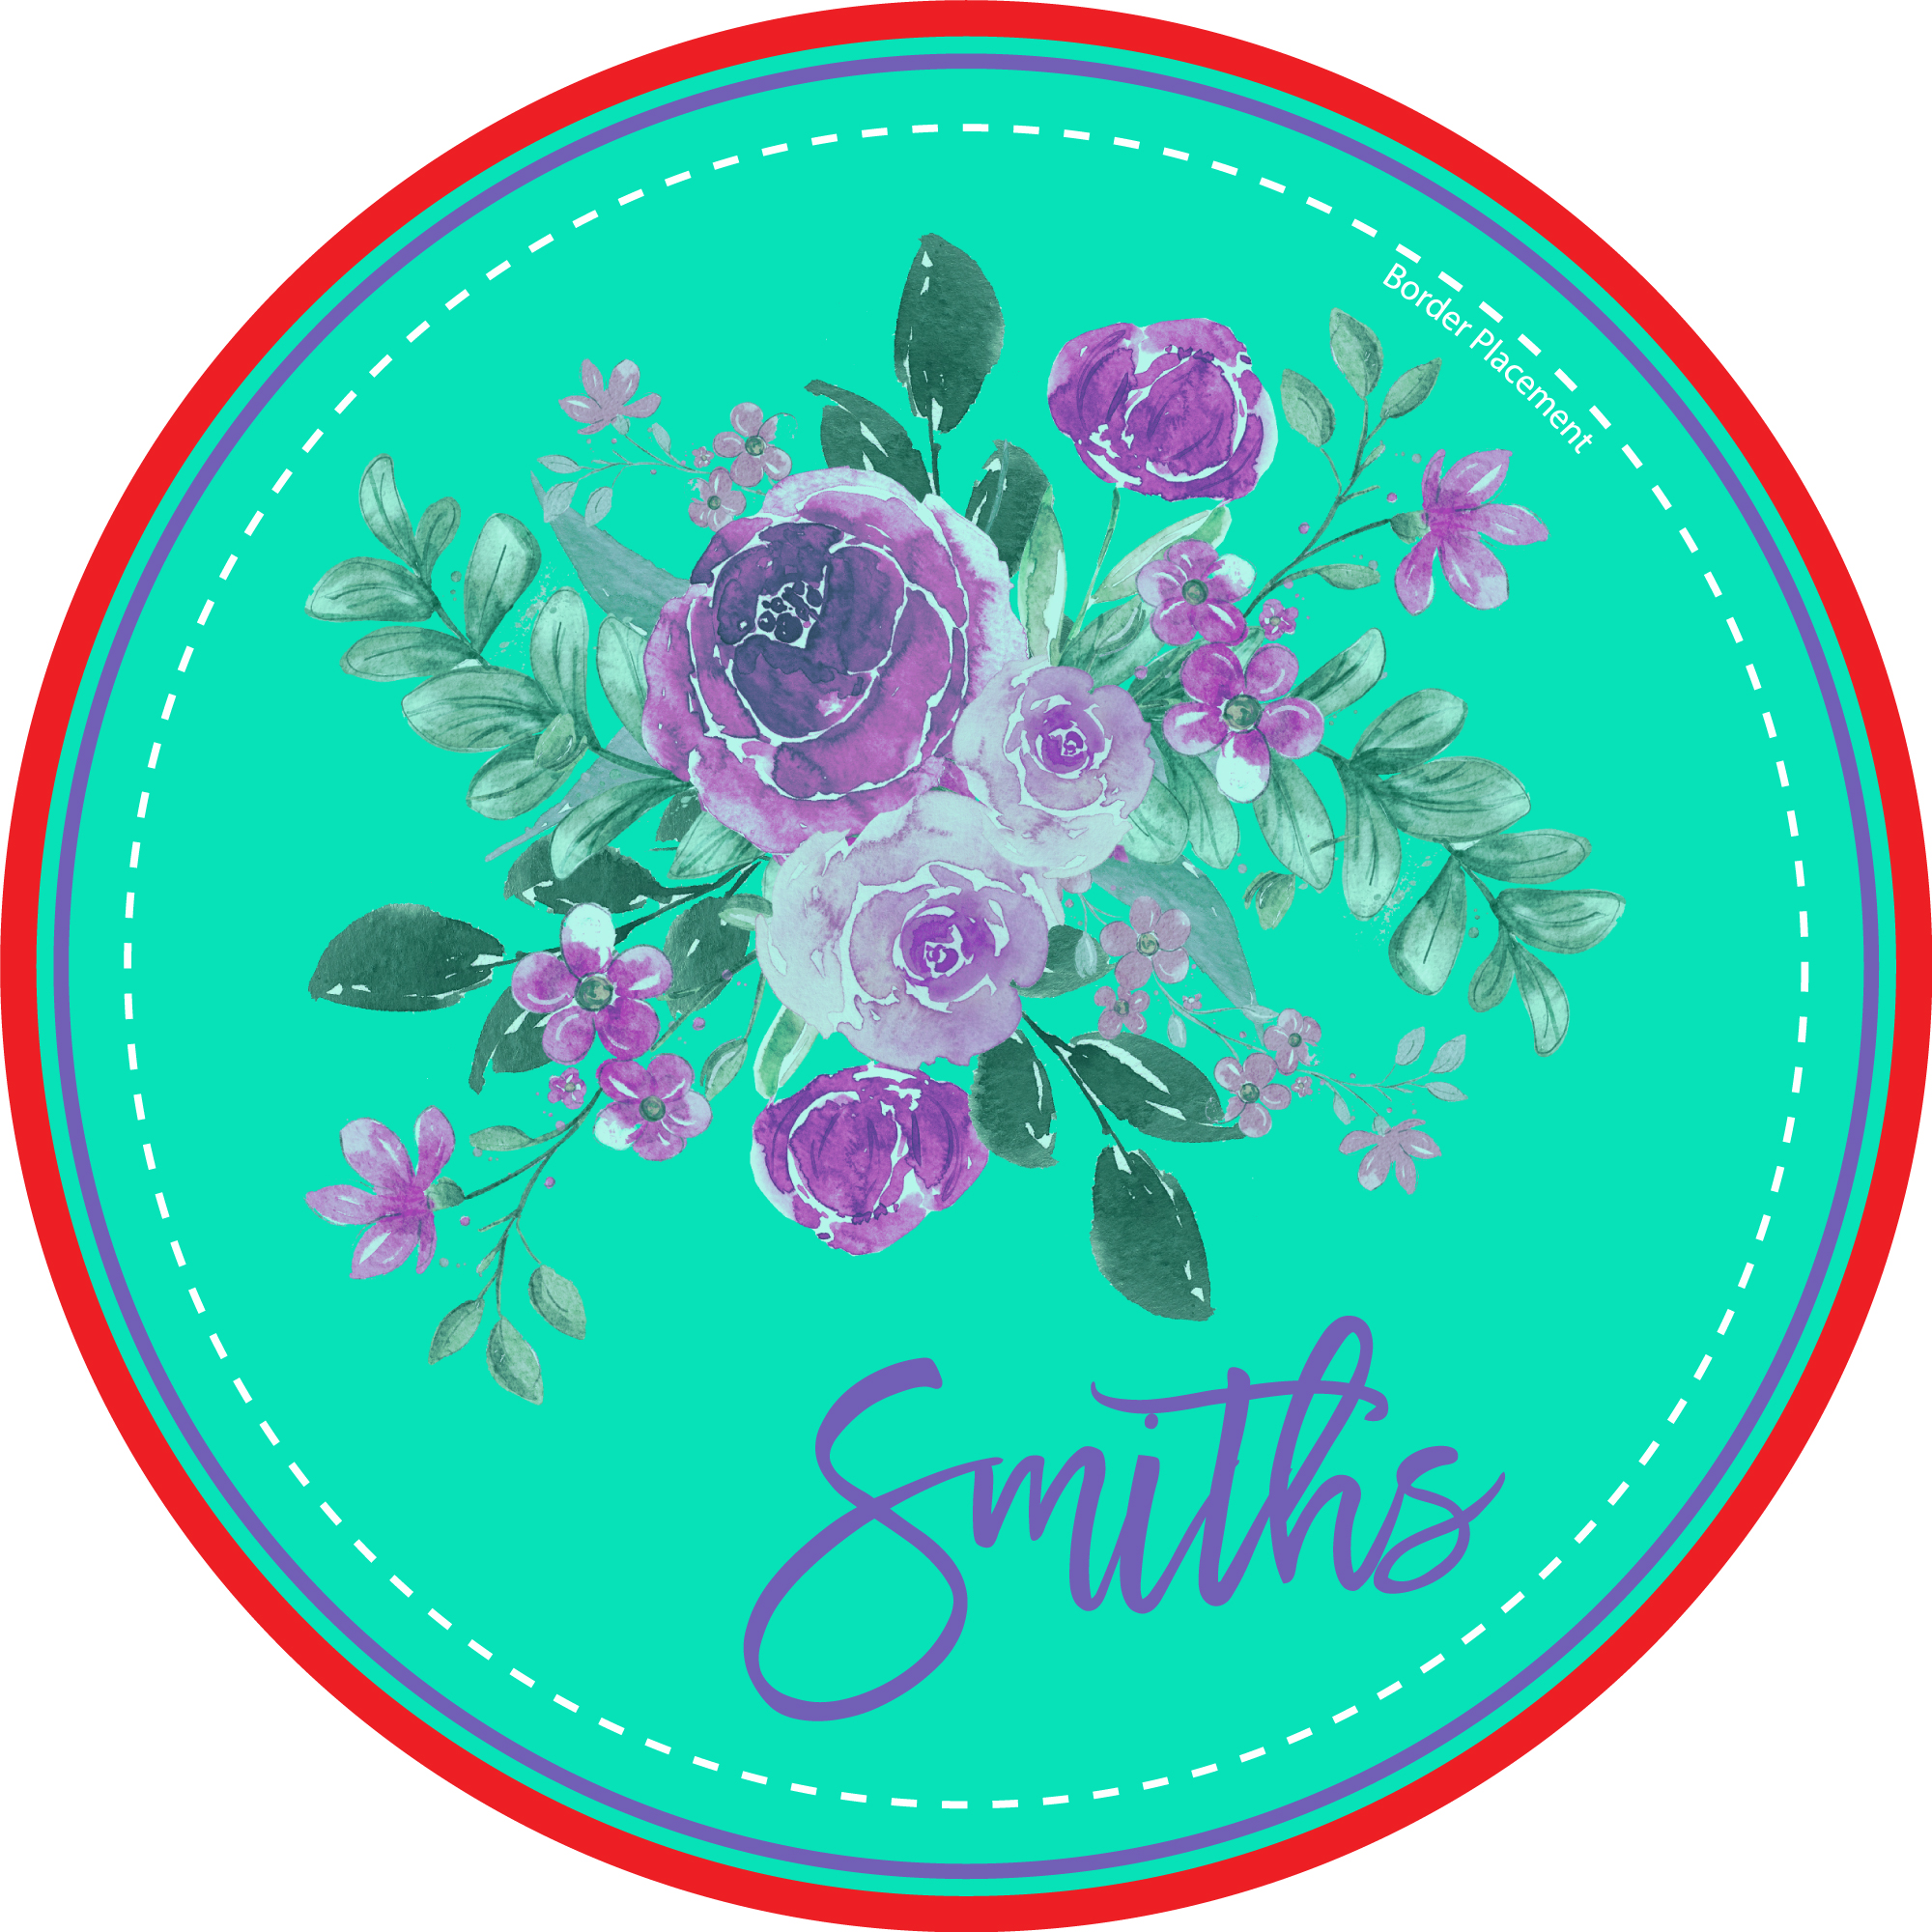
This border setup is too thin and close to the bleed zone for reliable production. A thin border can lead to placement issues making the finished product appear off center.
Transparent Artwork Overlaid on Template
Decorated example
Floating Border - Best Practice
Approved
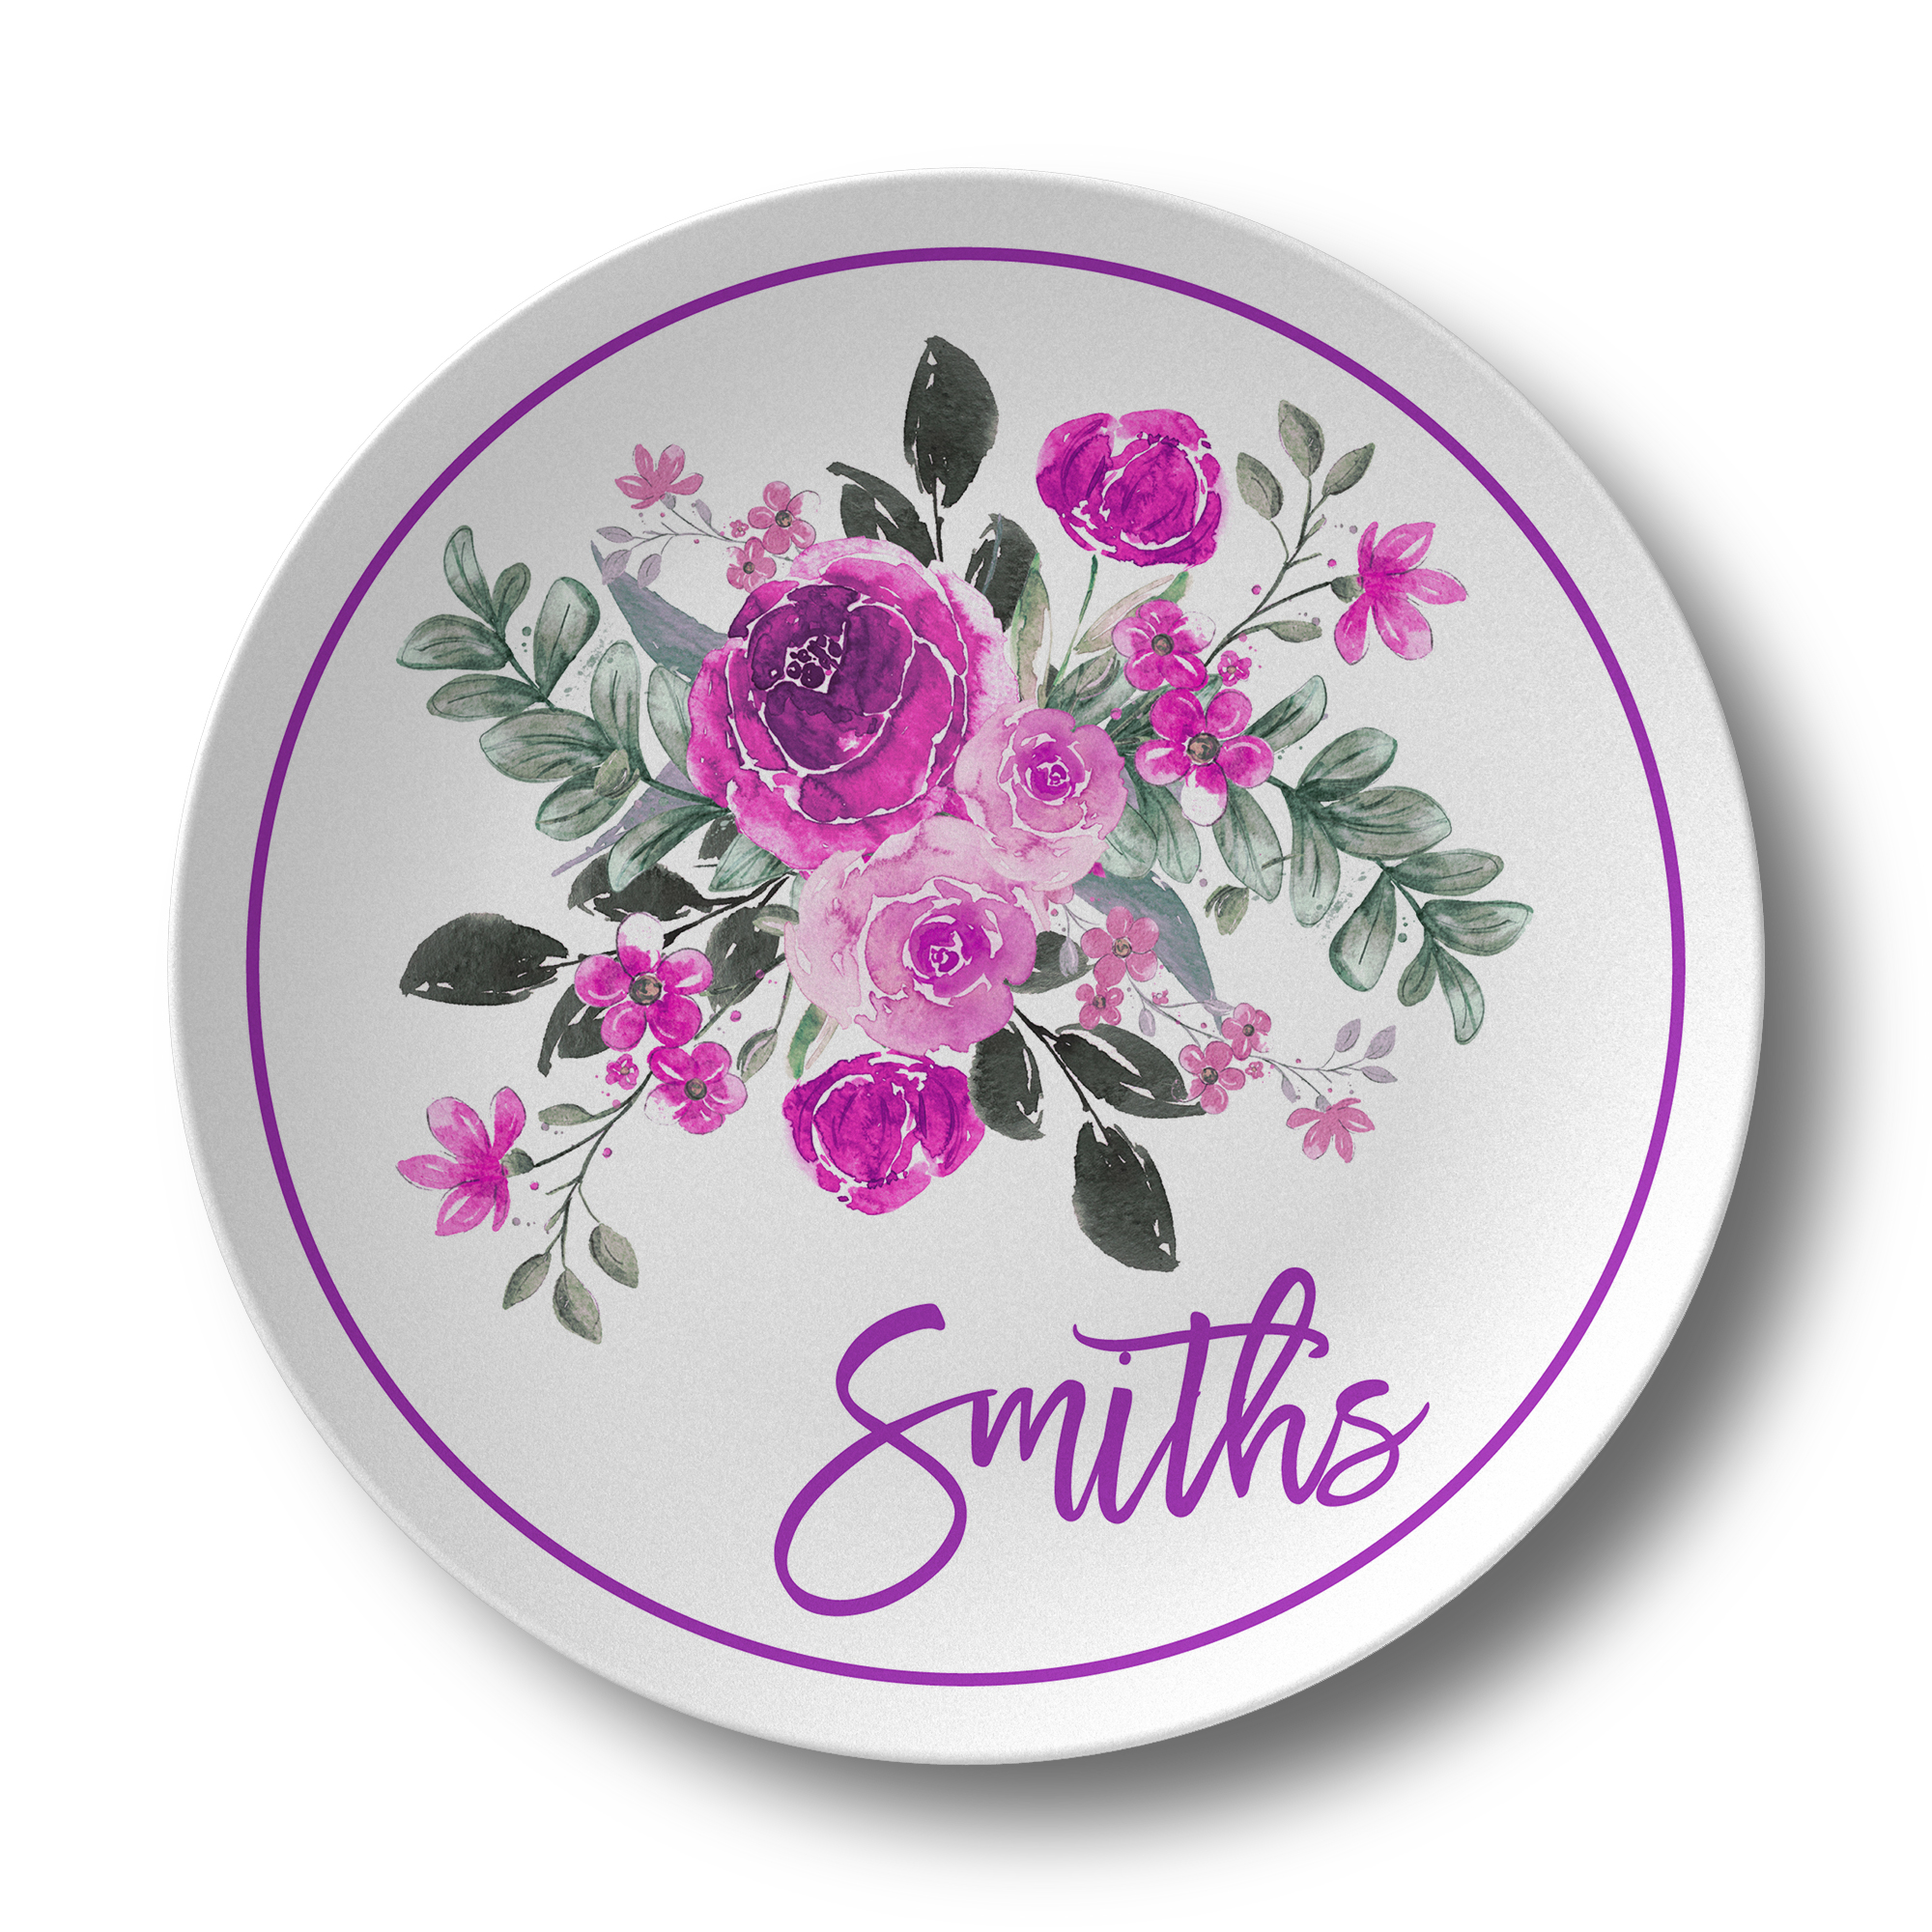
Start the border at the white dotted line or 1/2" in from the edge of the template and extend your border towards the center of the product to ensure it stays visually centered at production.
Transparent Artwork Overlaid on Template
Decorated example
Floating Border - Too close to bleed
Not approved: Too close to bleed
This border setup is too close to the bleed zone for reliable production. A floating border placed too close to the bleed can lead to placement issues making the finished product appear off center.
Transparent Artwork Overlaid on Template
Decorated example
Common concerns
These are common concerns that our customers ask us about.
Tiny imperfections
Each product is proudly produced by hand in the USA and small imperfections in the decoration can be inherent to the hand-made nature of our products.
Surface Finish Variations
Faint variations in the gloss level of the decorated surface of the product are occasionally visible. We strongly recommend using textures or patterns as an alternative to solid backgrounds.
Streaking
Subtle streaks may appear in large areas of solid color. Textures or patterns work best to avoid customer complaints about decoration uniformity.